Setting Up a Scalable React App with Docker

In this post, we'll guide you through the process of setting up a scalable React application using Docker. We’ll cover:
1. What is Docker?
2. Why Use Docker for React Apps?
3. Step-by-Step Guide to Set Up Docker with React
Let’s dive in!

1. What is Docker?
Docker is a platform that simplifies the process of creating, deploying, and running applications using containers. Containers are lightweight, self-sufficient environments that package your application along with its dependencies, ensuring it runs consistently across different systems.
Key Benefits of Docker:
- Portability: Run your app consistently on any machine, regardless of the environment.
- Isolation: Keep your app and its dependencies separated from the host system.
- Scalability: Effortlessly scale your app by running multiple container instances.
By combining React with Docker, you gain an efficient way to manage, develop, and deploy your React app.
React is a popular JavaScript library for building user interfaces. Combining React with Docker allows you to manage and deploy your app efficiently.
2. Why Use Docker for React Apps?
Docker is an excellent choice for React apps due to several reasons:
- Consistent Development Environment: With Docker, your app behaves the same way across different development and production environments.
- Easy Deployment: Docker simplifies the process of deploying your React app to multiple environments, including staging and production.
- Scalability: Docker makes scaling your app a breeze by running multiple containers.
Example Use Case:
Imagine you have a React app that you need to deploy in multiple environments. Docker allows you to package the app into a container, making it simple to deploy, update, and scale across various platforms.

3. Step-by-Step Guide to Set Up Docker with React
Here’s a step-by-step guide to containerizing a React app with Docker:
Step 1: Set Up Your React Application
Create a React App
Use the Create React App command to set up a new project:
npx create-react-app my-react-app
cd my-react-app2.Test Your React App
Run the app locally to make sure it works:
npm startStep 2: Add Docker to Your Project
- Install Docker
Download and install Docker from Docker's official website.
Create a Docker file
In the root of your React project, create a file called Dockerfile with the following content:
# Use an official Node.js runtime as the base image
FROM node:14

# Set the working directory inside the container
WORKDIR /app

# Copy the package.json files and install dependencies
COPY package*.json ./
RUN npm install

# Copy the rest of the app's source code
COPY . .

# Build the React app for production
RUN npm run build

# Specify the command to run your app
CMD ["npm", "start"]

# Expose the port on which the app will run
EXPOSE 3000
3. Create a .dockerignore File
To prevent unnecessary files from being included in your Docker image, create a .dockerignore file in the root of your project with the following content:
node_modules
build
Step 3: Build and Run Your Docker Container
Build the Docker Image
Run the following command to build your Docker image:
docker build -t my-react-app .Run the Docker Container
After building the image, start the container using this command:
docker run -p 3000:3000 my-react-app Verify Your App
Open your browser and navigate to http://localhost:3000 to see your React app running inside the Docker container.
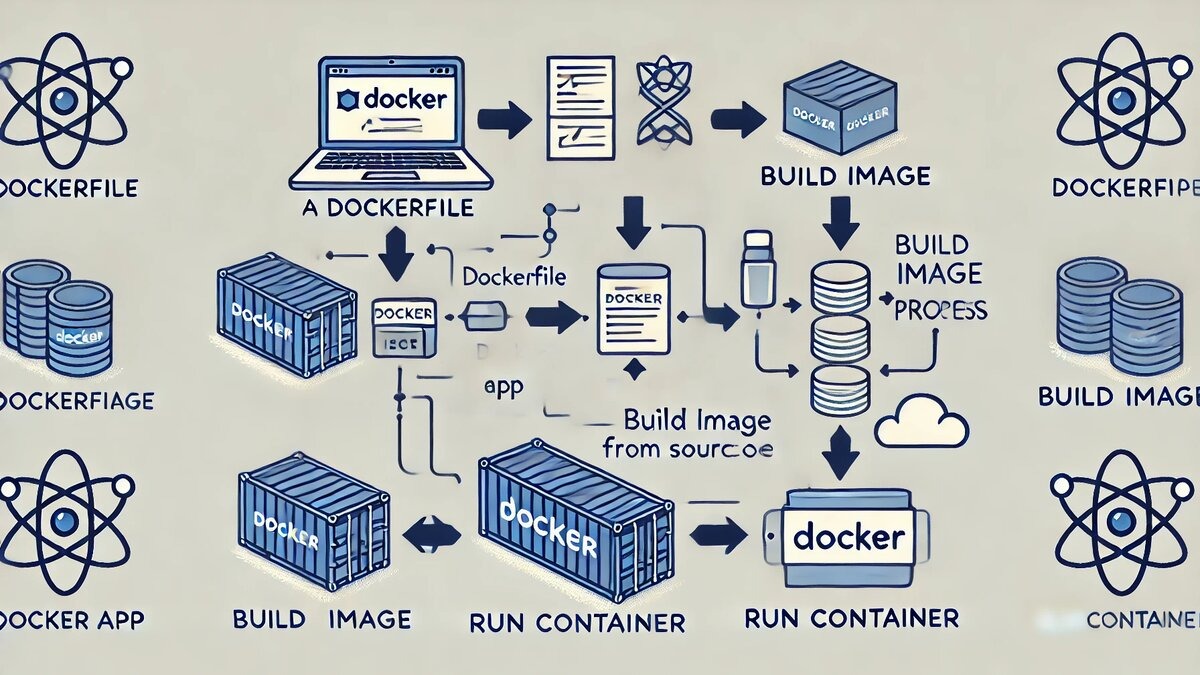
Explanation:
- Dockerfile: Defines how the Docker image for your app is built.
- Build Image: Packages your React app into a reusable Docker image.
- Run Container: Launches the Docker container to serve your React app.
Conclusion
Using Docker to containerise your React app simplifies the process of deployment and scaling. With Docker, you get a consistent environment, making it easier to develop, test, and deploy your React app across different systems. Follow the steps outlined in this guide, and you'll have a scalable, containerized React application running smoothly in no time!
Comments (0)
No comments found.